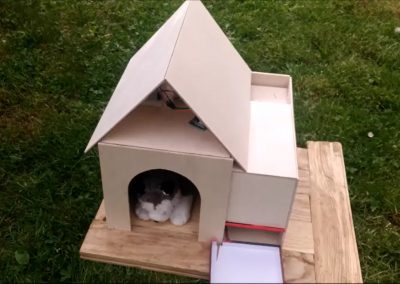
Internet of Things: kućni ljubimci i domaće životinje
OŠ Turanj
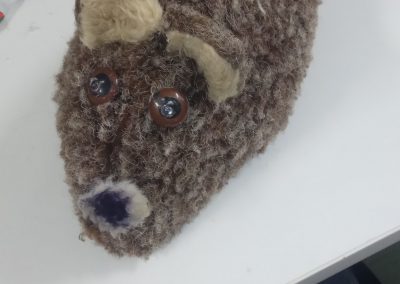
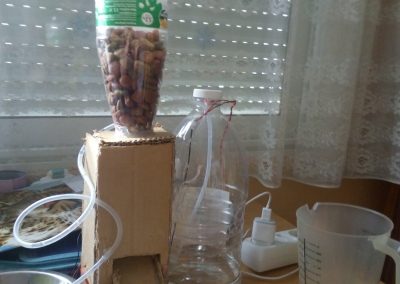
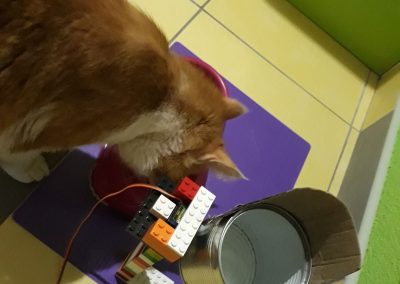
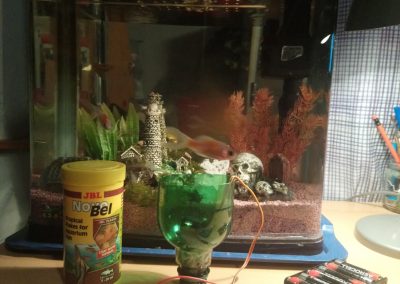
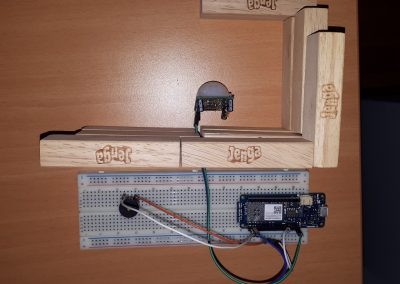
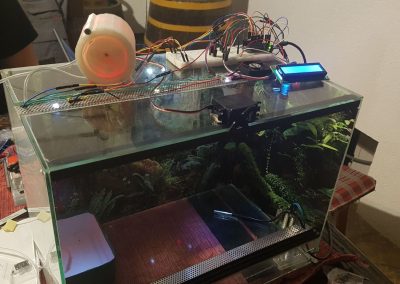
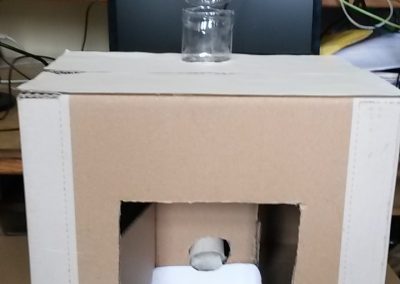
Za projekt Internet of Things: kućni ljubimci i domaće životinje, naš tim se odlučio za domaće životinje. Naše put je krenuo prema pilićima, odnosno pilićima u inkubatoru. Ako se pilići izlegnu dioda će zasvijetliti i doći će nam mail da su se pilići izlegli.
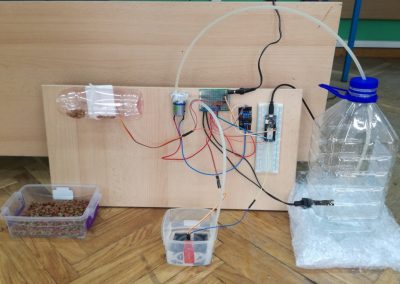
Izrada projekta
Svaki put kada se u blizini senzora čuje neki zvuk dioda se uključi.

Mobilna aplikacija
E-mail.

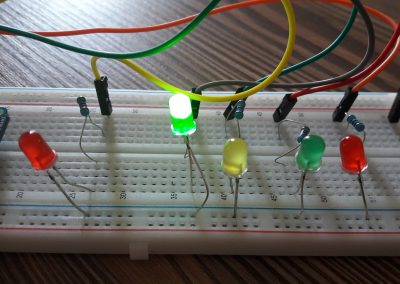
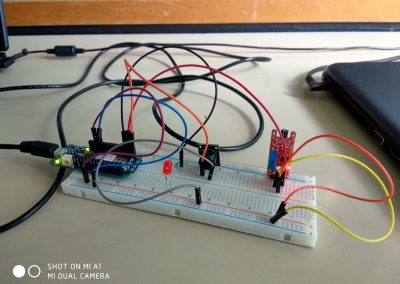
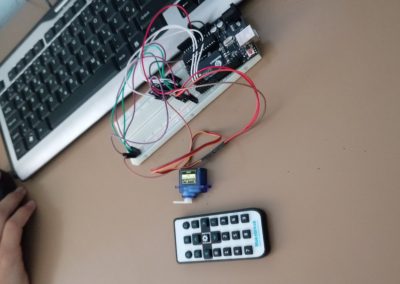
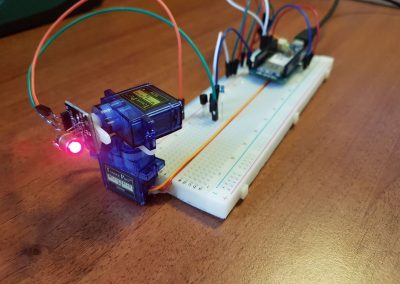
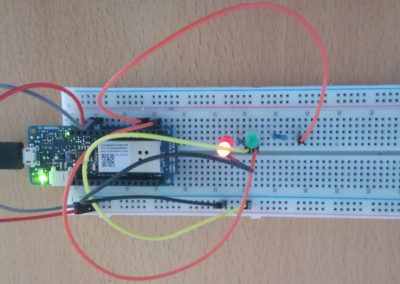
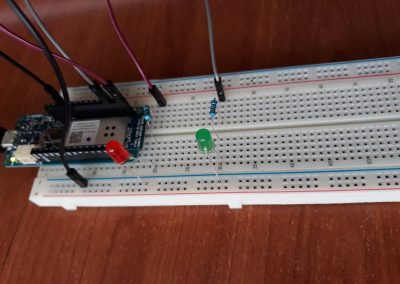
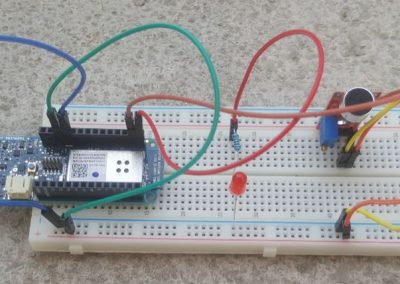
Shema projekta

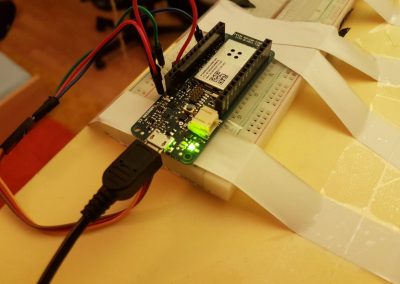
Spajanje diode, otpornika na Arduinom MKR1000.
Arduino program
#define BLYNK_PRINT /*

/*************************************************************
  Download latest Blynk library here:
    https://github.com/blynkkk/blynk-library/releases/latest

  Blynk is a platform with iOS and Android apps to control
  Arduino, Raspberry Pi and the likes over the Internet.
  You can easily build graphic interfaces for all your
  projects by simply dragging and dropping widgets.

    Downloads, docs, tutorials: http://www.blynk.cc
    Sketch generator:           http://examples.blynk.cc
    Blynk community:            http://community.blynk.cc
    Follow us:                  http://www.fb.com/blynkapp
                                Tweets by blynk_app

  Blynk library is licensed under MIT license
  This example code is in public domain.

 *************************************************************

  You’ll need:
   - Blynk App (download from AppStore or Google Play)
   - Arduino MKR1000 board
   - Decide how to connect to Blynk
     (USB, Ethernet, Wi-Fi, Bluetooth, ...)

  There is a bunch of great example sketches included to show you how to get
  started. Think of them as LEGO bricks  and combine them as you wish.
  For example, take the Ethernet Shield sketch and combine it with the
  Servo example, or choose a USB sketch and add a code from SendData
  example.
 *************************************************************/

/* Comment this out to disable prints and save space */
#define BLYNK_PRINT SerialUSB


#include
#include
#include

// You should get Auth Token in the Blynk App.
// Go to the Project Settings (nut icon).
char auth[] = "ae4e4e8fb1c242c5b325e6e86e6d1f6b";

// Your WiFi credentials.
// Set password to "" for open networks.
char ssid[] = "Luka";
char pass[] = "kljuczasimica";

void setup()
{
  // Debug console
  SerialUSB.begin(9600);


  Blynk.begin(auth, ssid, pass);
  // You can also specify server:
  //Blynk.begin(auth, ssid, pass, "blynk-cloud.com", 8442);
  //Blynk.begin(auth, ssid, pass, IPAddress(192,168,1,100), 8442);
}

void loop()
{
  Blynk.run();
  // You can inject your own code or combine it with other sketches.
  // Check other examples on how to communicate with Blynk. Remember
  // to avoid delay() function!
    int Led = 6;
int SenzorZvuk = 7;

int StanjeLed = LOW;
  pinMode(Led, OUTPUT);          //postavi izvod LedCrvena (6) kao izlazni
  pinMode(SenzorZvuk, INPUT);    //postavi izvod SenzorZvuk (7) kao ulazni
    if (digitalRead(SenzorZvuk)==HIGH){   //ukoliko je detektiran zvuk
    if(StanjeLed==LOW){                 //ukoliko je StanjeLed nisko
      StanjeLed=HIGH;                   //postavi StanjeLed u log. st. visoko
    } else {                            //inače
    StanjeLed=LOW;                      //postavi StanjeLed u log. st. nisko
    }
    delay(100);                         //jednostavni debounce, 100ms
  }
  digitalWrite(Led, StanjeLed);         //postavi izvod Led u stanje StanjeLed

  Blynk.email("turkalj.valentina@gmail.com" ,"pilici", "pilici su se izlegli") ;
}
Arduino program ovoga projekta možete preuzeti ovdje.
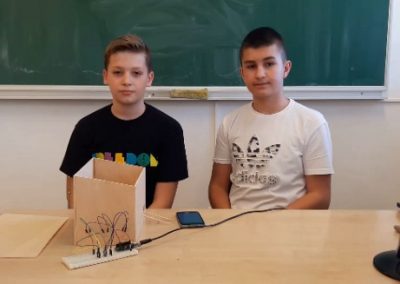
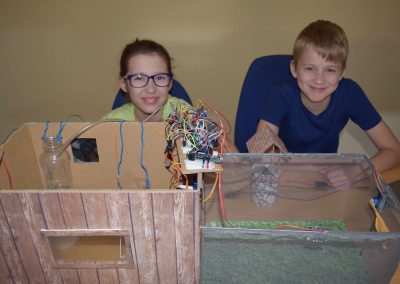
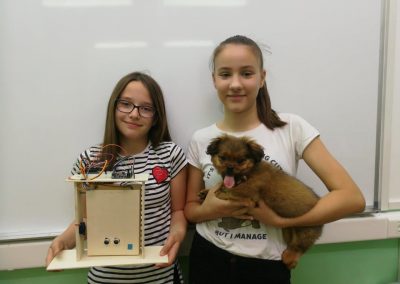
Autori
Projekt su izradili Matija Frketić i Leo Vuković uz mentorstvo Valentine Turkalj iz OŠ Turanj.
Projekt je prijavljen na temu: Internet of Things: Kućni ljubimci i domaće životinje.