IOT Rasvjeta 1
Elektrotehnička škola, Zagreb
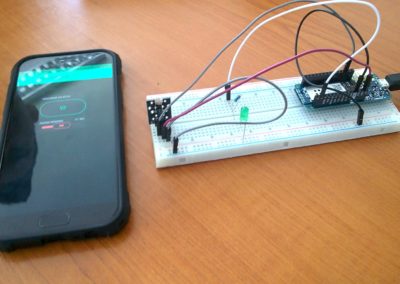
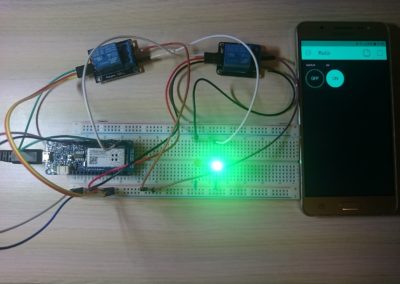
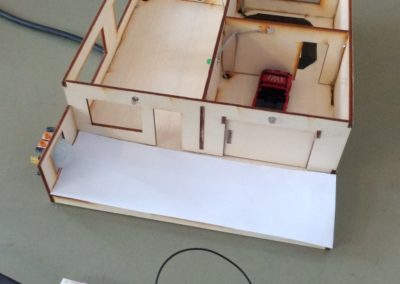
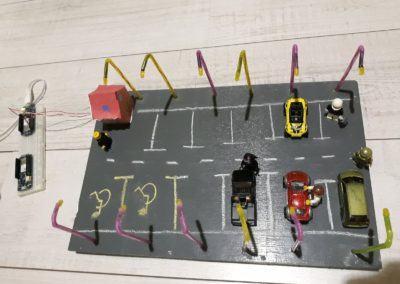
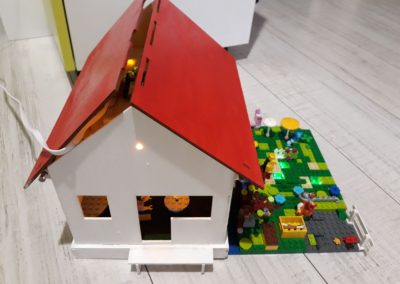
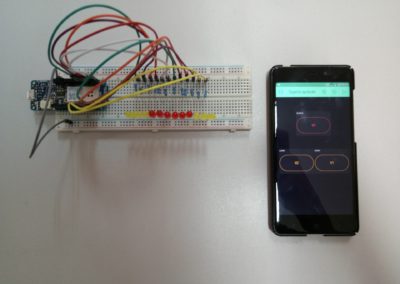
Možemo lagano i jednostavno upravljati rasvjetom pomoću mobilne aplikacije Blynk. Jednostavna izvedba i jeftina ugradnja omogućuje nam da svaki dom možemo modernizirati.
Video snimka
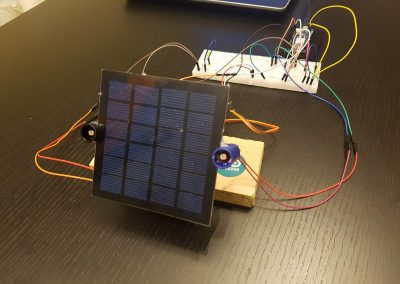
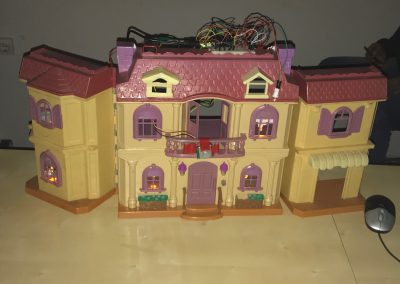
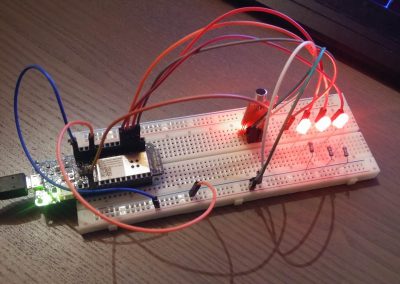
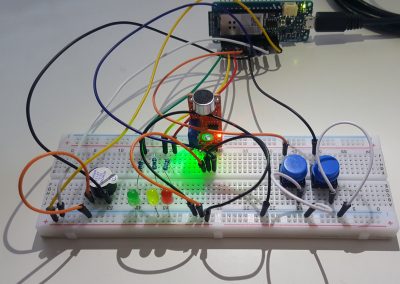
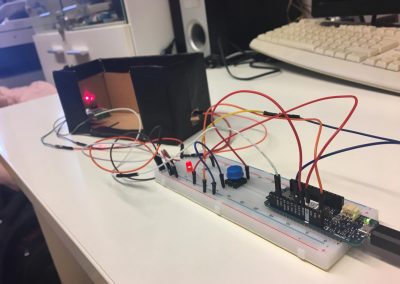
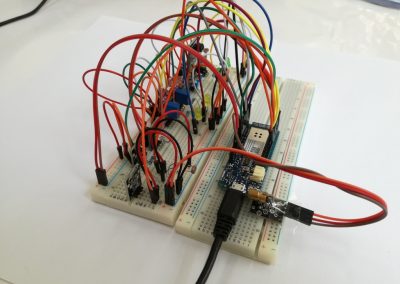
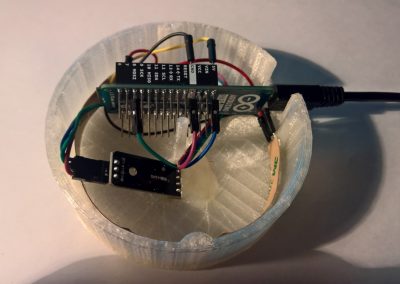
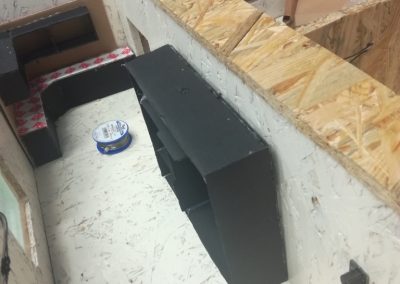
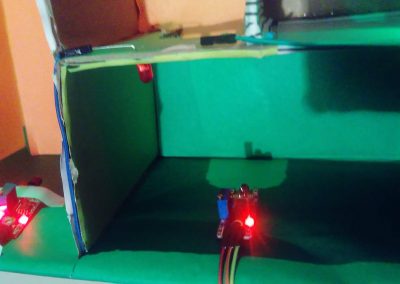
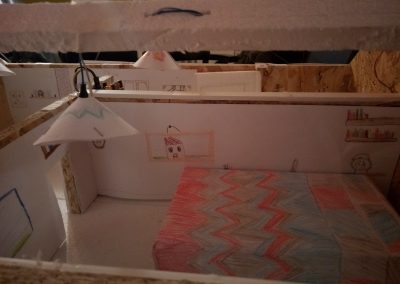
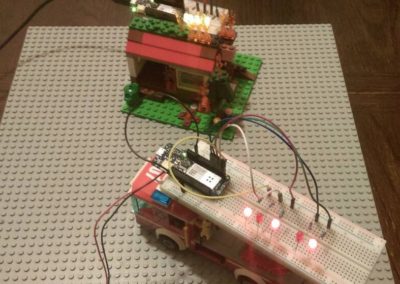
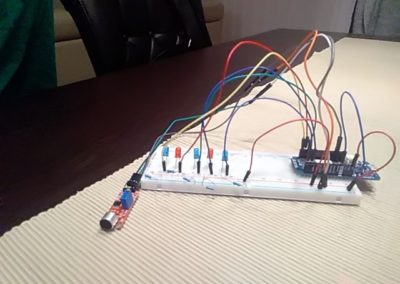
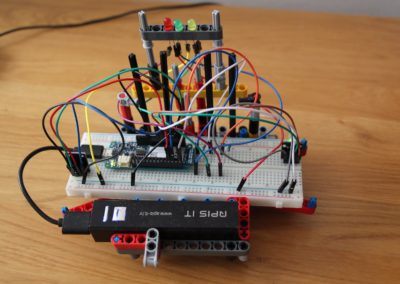
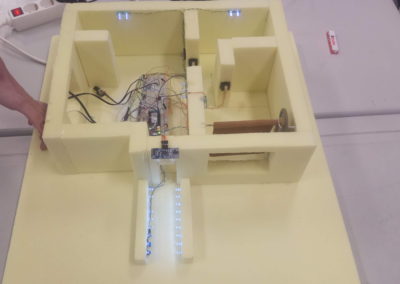
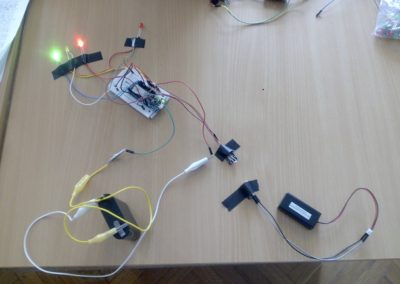
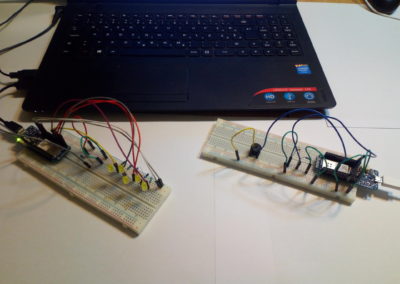
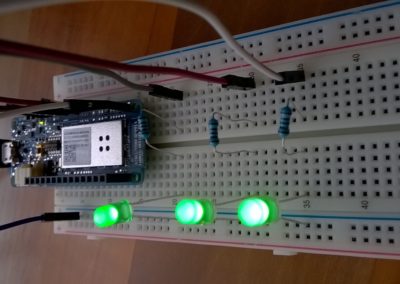
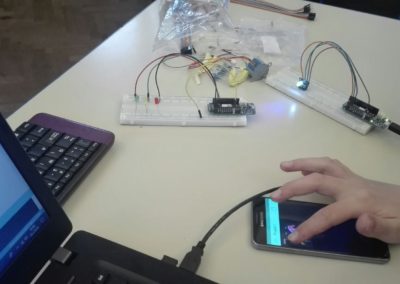
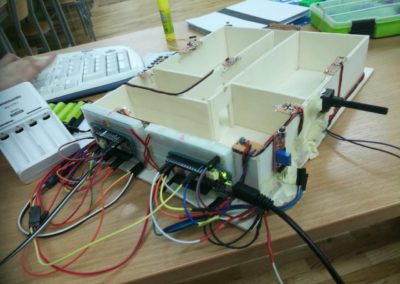
Izrada projekta
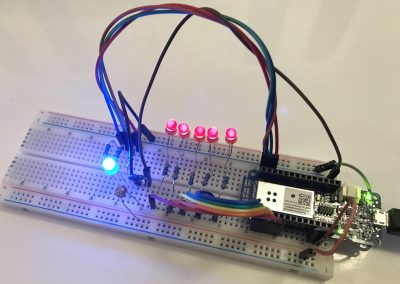
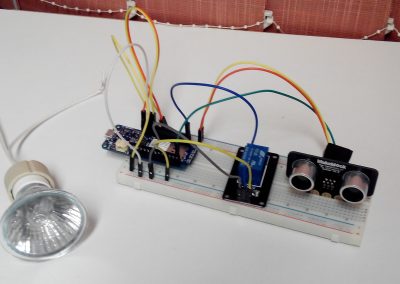
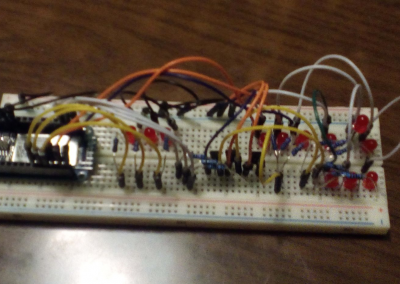
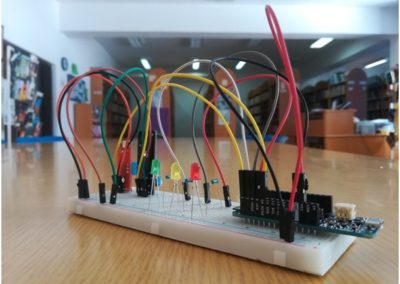
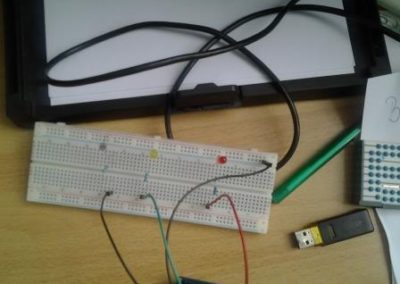
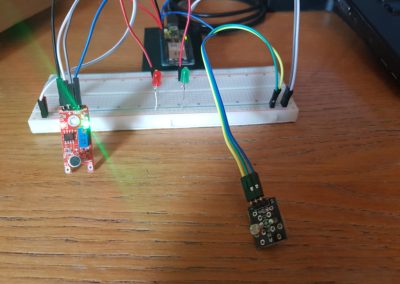
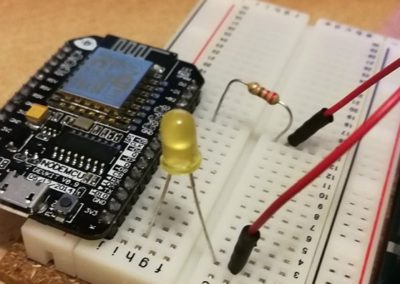
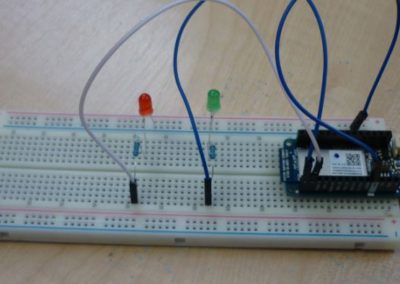
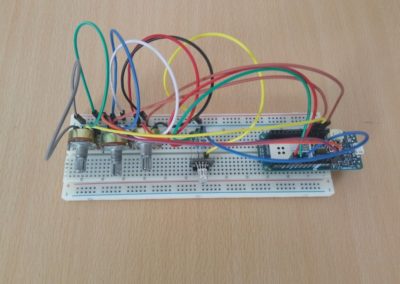
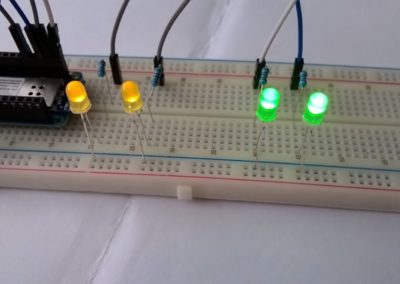
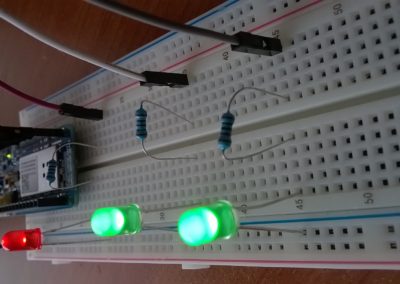
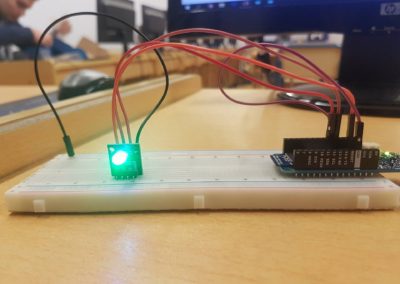
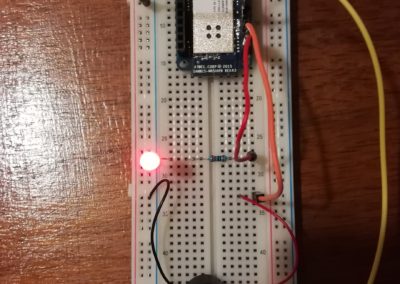
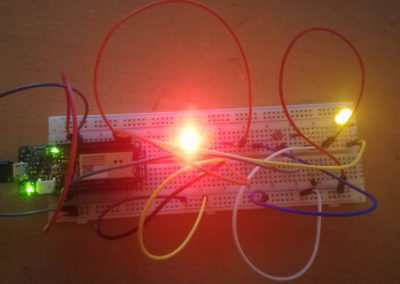
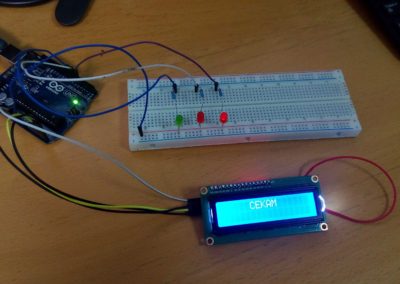
LED diode, crvena, žuta, zelena.

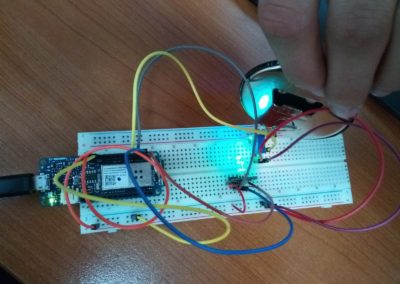
RGB dioda.

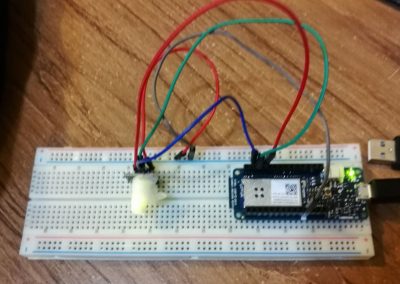
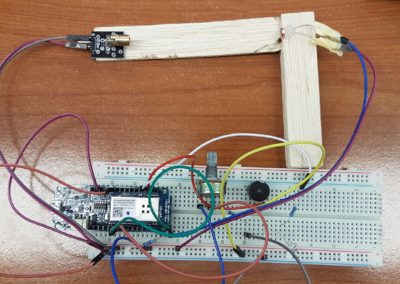
Senzor svjetline.

Žarulja.

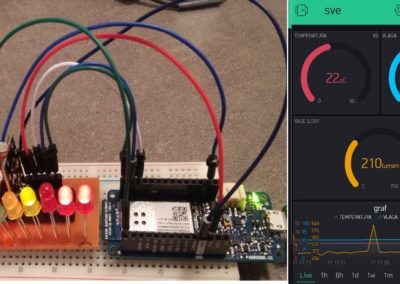
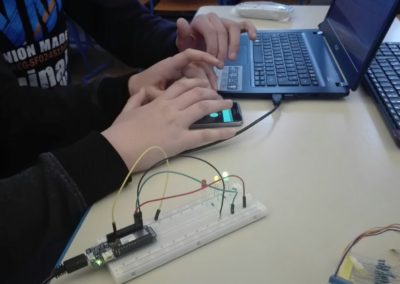
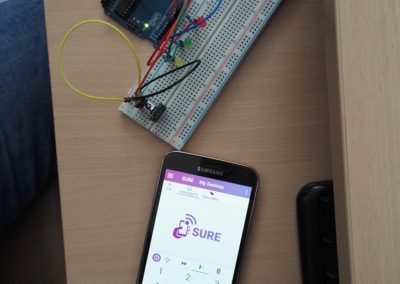
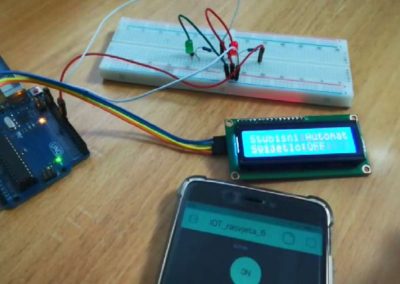
Mobilna aplikacija
Pomoću prva tri widget-a upravljamo LED diodama.

Pomoću ovih widget-a možemo miješati boje RGB diode.

S ovim widget-om upravljamo žaruljom.

Ovaj widget nam govori koliko je osvjetljenje u prostoriji.

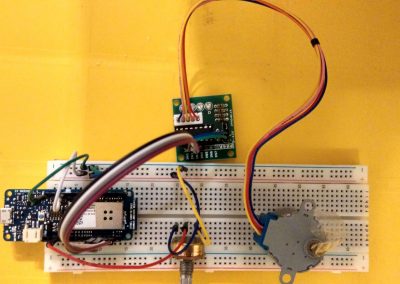
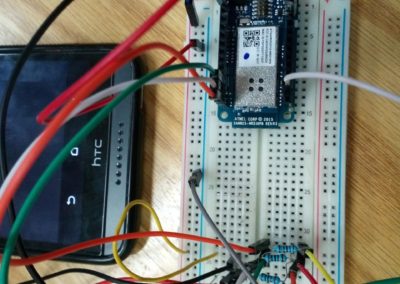
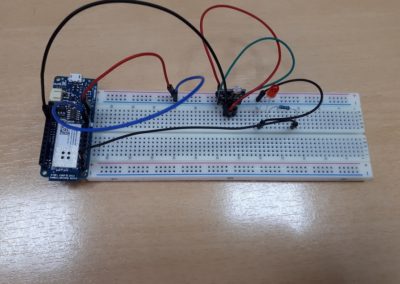
Shema projekta

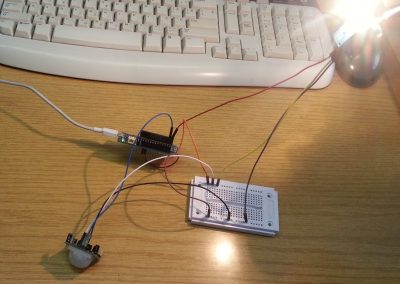
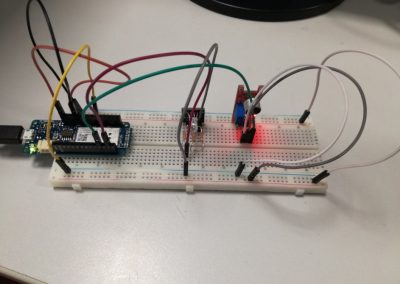
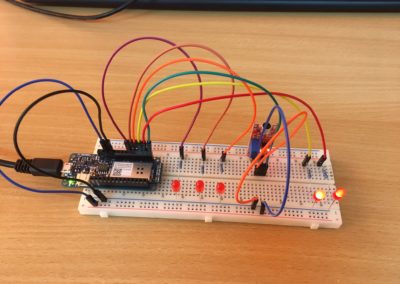
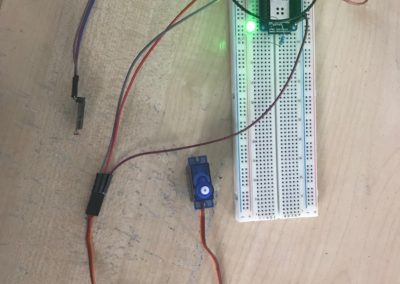
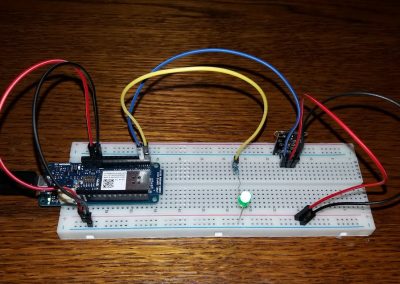
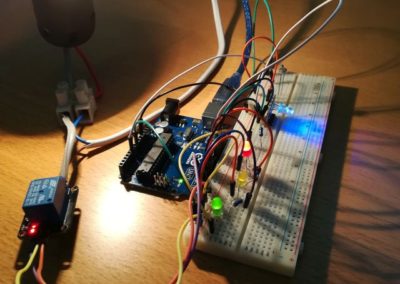
LED diode su spojene na digitalne pinove D4 (zelena), D5 (žuta) i D6(crvena). RGB dioda je spojena na digitalne pinove D9, D10, D11. Senzor za svjetlost LDR je spojena na analogni pin A0. Na sve komponente je spojen otpornik. Relej je spojen na digitalni pin D2, a žarulja na 220V.
Shemu ovoga projekta možete preuzeti ovdje.
Arduino program
#define BLYNK_PRINT void setup()
{
  /*************************************************************
  Download latest Blynk library here:
    https://github.com/blynkkk/blynk-library/releases/latest

  Blynk is a platform with iOS and Android apps to control
  Arduino, Raspberry Pi and the likes over the Internet.
  You can easily build graphic interfaces for all your
  projects by simply dragging and dropping widgets.

    Downloads, docs, tutorials: http://www.blynk.cc
    Sketch generator:           http://examples.blynk.cc
    Blynk community:            http://community.blynk.cc
    Follow us:                  http://www.fb.com/blynkapp
                                Tweets by blynk_app

  Blynk library is licensed under MIT license
  This example code is in public domain.

 *************************************************************
  =>
  =>          USB HOWTO: http://tiny.cc/BlynkUSB
  =>

  Feel free to apply it to any other example. It's simple!
/*************************************************************
  Download latest Blynk library here:
    https://github.com/blynkkk/blynk-library/releases/latest

  Blynk is a platform with iOS and Android apps to control
  Arduino, Raspberry Pi and the likes over the Internet.
  You can easily build graphic interfaces for all your
  projects by simply dragging and dropping widgets.

    Downloads, docs, tutorials: http://www.blynk.cc
    Sketch generator:           http://examples.blynk.cc
    Blynk community:            http://community.blynk.cc
    Follow us:                  http://www.fb.com/blynkapp
                                Tweets by blynk_app

  Blynk library is licensed under MIT license
  This example code is in public domain.

 *************************************************************
  =>
  =>          USB HOWTO: http://tiny.cc/BlynkUSB
  =>

  Feel free to apply it to any other example. It's simple!
 *************************************************************/

/* Comment this out to disable prints and save space */
#define BLYNK_PRINT DebugSerial


// You could use a spare Hardware Serial on boards that have it (like Mega)
#include
SoftwareSerial DebugSerial(2, 3); // RX, TX

#include

// You should get Auth Token in the Blynk App.
// Go to the Project Settings (nut icon).
char auth[] = "170d8e4a853d4853889f01439fb73a1b";      //kod za autentifikaciju s mobilnim uredajem


void setup()
{
  // Debug console
  DebugSerial.begin(9600);

  // Blynk will work through Serial
  // Do not read or write this serial manually in your sketch
  Serial.begin(9600);
  Blynk.begin(Serial, auth);
}

void loop()
{
  Blynk.run();
}
Arduino program ovoga projekta možete preuzeti ovdje.
Autori
Projekt su izradili Kristijan Kerhin i Ivan Boljanović uz mentorstvo Marija Tretinjaka iz Elektrotehničke škole u Zagrebu.
Projekt je prijavljen na temu: Internet of Things: Pametna rasvjeta.